

Hey Scrappy Friends!
I've got a new VIDEO TUTORIAL for you! This tutorial was first published on the MyMemories Blog, and I'm reposting it below for you.
Today, I’m going to show you how to use standard “TEMPLATES” in MyMemories Suite!
When you purchase a Template from another scrap store, you usually get the templates in .TIFF, .PSD, and individual PNGS. MyMemories is NOT compatible with .TIFF or .PSD, BUT there IS a workaround to use the PNG files!
This Video Tutorial uses MyMemories Suite Software (Save $10 OFF the purchase price with this code: STMMMS90118) and the “Home & Heart” collection by me - available at MyMemories.
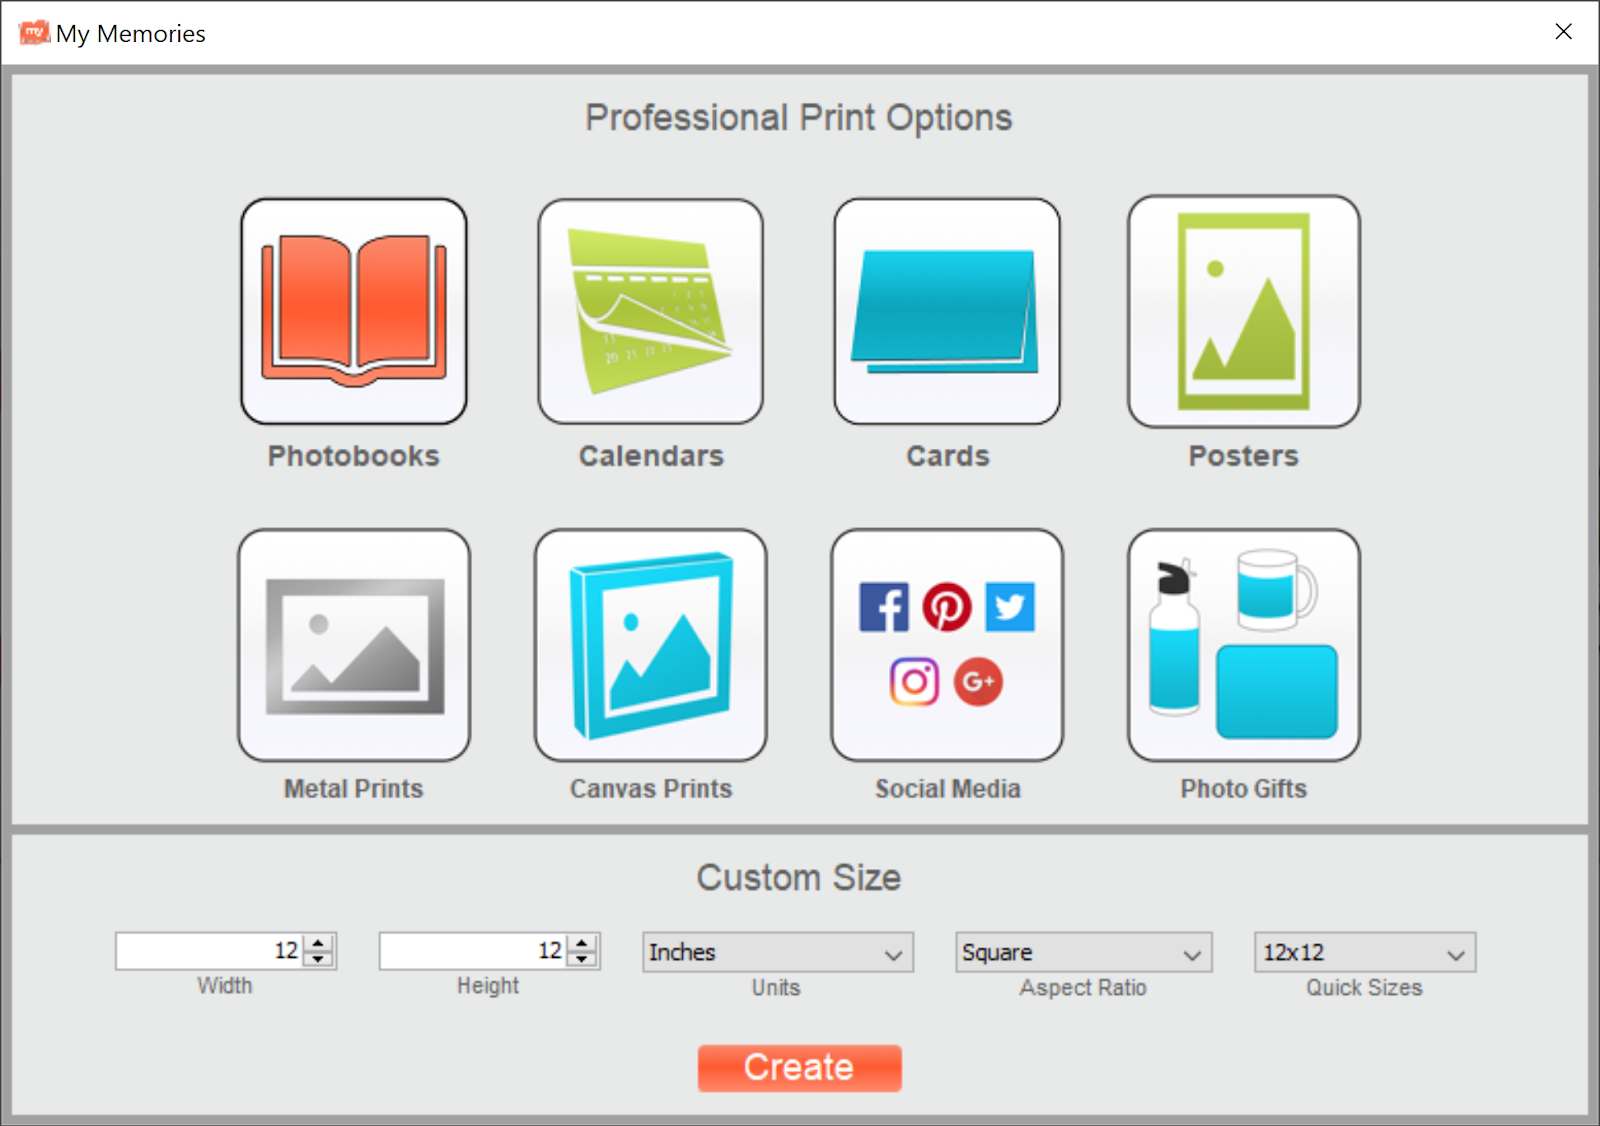
Open MyMemories Suite and click “Design.”
When you first open MMS, you should get a splash screen. If not, click on File → NEW, and that splash screen will appear. Choose DESIGN and then CREATE.
You can use any set of PNGs from a Template, but if you want to work with the same ones that I use in this tutorial, download HERE. (Extract and save to your computer.)
Watch this Video.
Watch this Video.
For those who prefer WRITTEN INSTRUCTIONS, here are the basics.
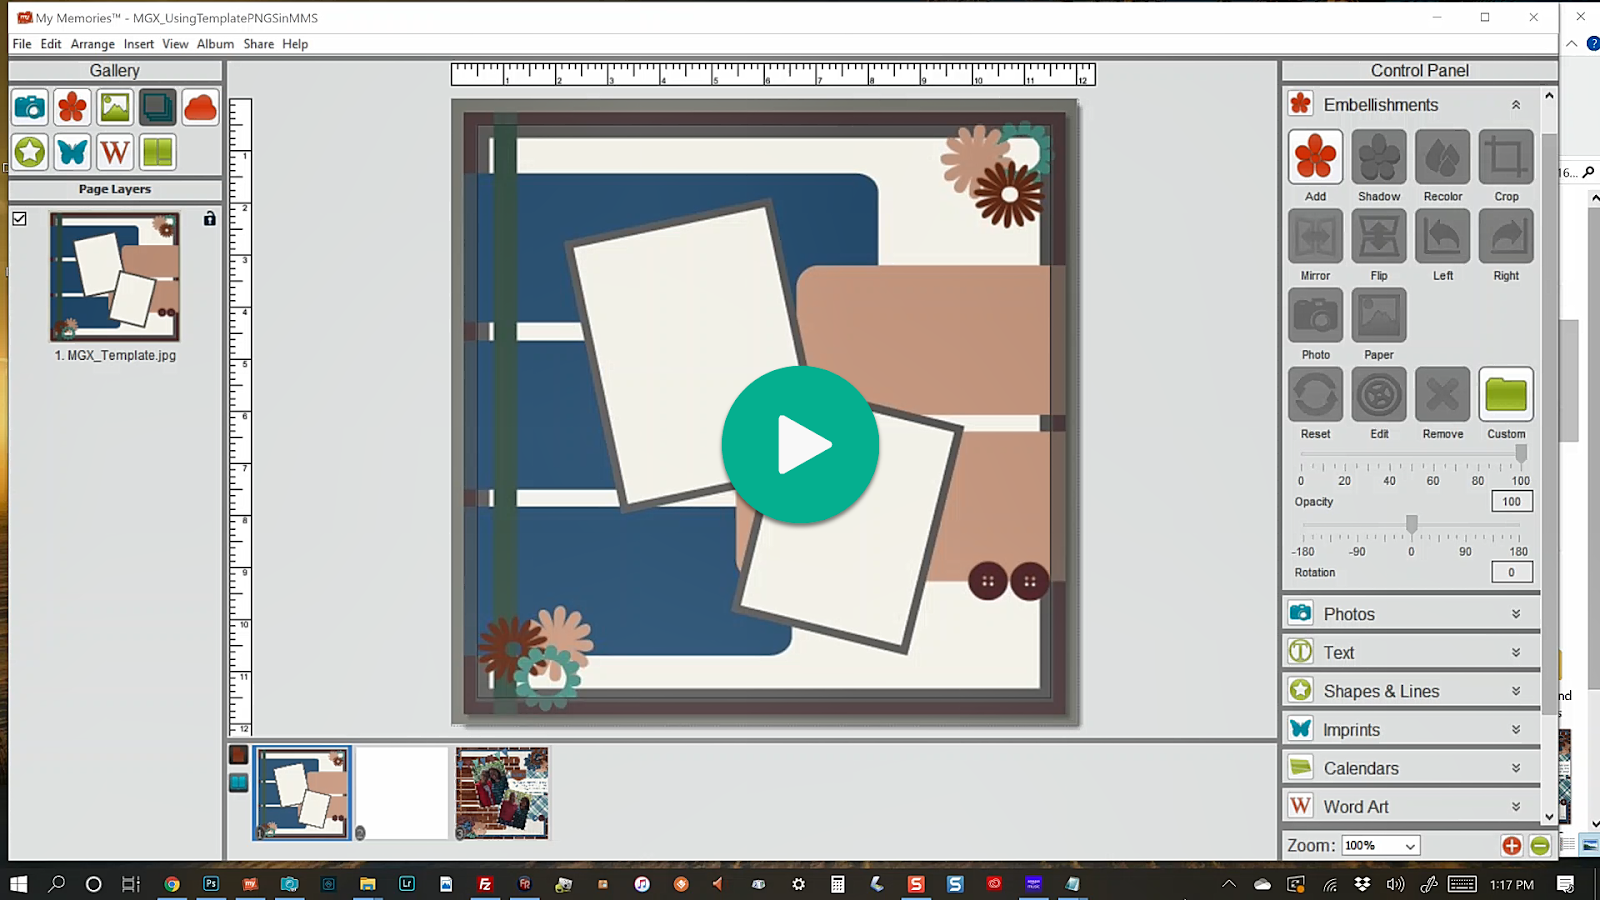
- Use the Embellishments Tab on the left-side menu to navigate to the folders where the PNG files are kept from the template you want to use.
- Once you can see them, drag and drop them one-by-one IN ORDER (bottom to top!) onto your page.
- Using the LEFT-side menu, click on the layers tab. Scroll down to the layer you want to work with, and select that layer. (YOU NEED to use the Layers Tab because the large areas of transparency on each layer prohibit you from selecting a lower layer just by clicking on the canvas.
- With your layer selected, on the right-side menu, under the EMBELLISHMENTS tab, click on PHOTO (this will allow you to add a JPG to cover that PNG file. Navigate to where you keep the papers for the kit you are using, and select. We are using the “PHOTO” option because photos and papers are jpg files and is all the same to MyMemories Suite. If you install all of your content INTO the MyMemories Suite software, then you will choose the “PAPER” icon instead of “PHOTO.”
- The paper you have selected will, in essence, cover the PNG file. Repeat steps 3 & 4 for each layer of your template.
- The tiny buttons, flowers, etc. are really just place holders. Delete or hide those layers, and add the embellishments of your choice in their spots.
Keep in mind that MyMemories has a HUGE selection of Album Templates, Photobook Templates, and Page Builders that are specifically created for use and easy customization in MyMemories suite. But, if you happen across a standard template that you really like elsewhere in “digi land,” you now know how to use adapt them for use in MMS!
Thanks for following along! I would love to see your results of this tutorial! Show them off in any of these Facebook Groups, and be sure to tag me!

No comments:
Post a Comment
Your comments on my blog are GREATLY appreciated! Thanks so much for taking the time to leave a comment! :)Mags